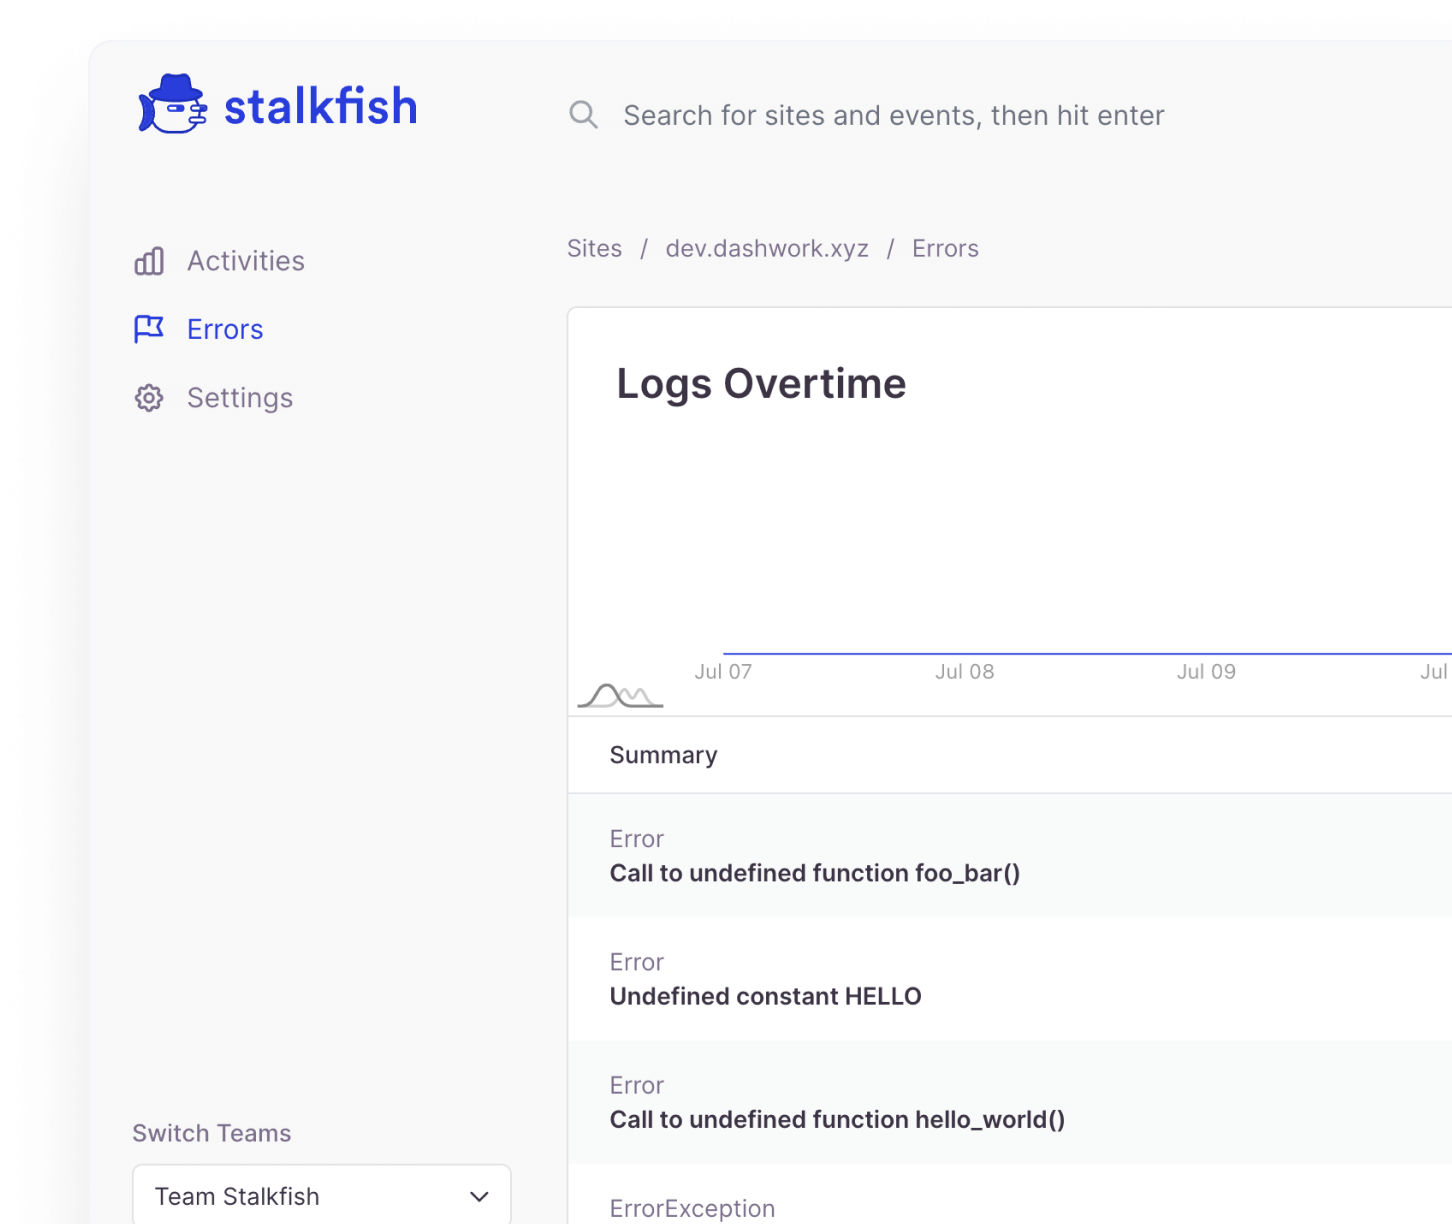
Adding sites to the Stalkfish app is fairly simple and it takes just a few seconds to get setup. Follow the below steps to add and register a site for recording all its events.
Minimum requirements for a site
- A WordPress site with version 5.6+
Steps to add a site
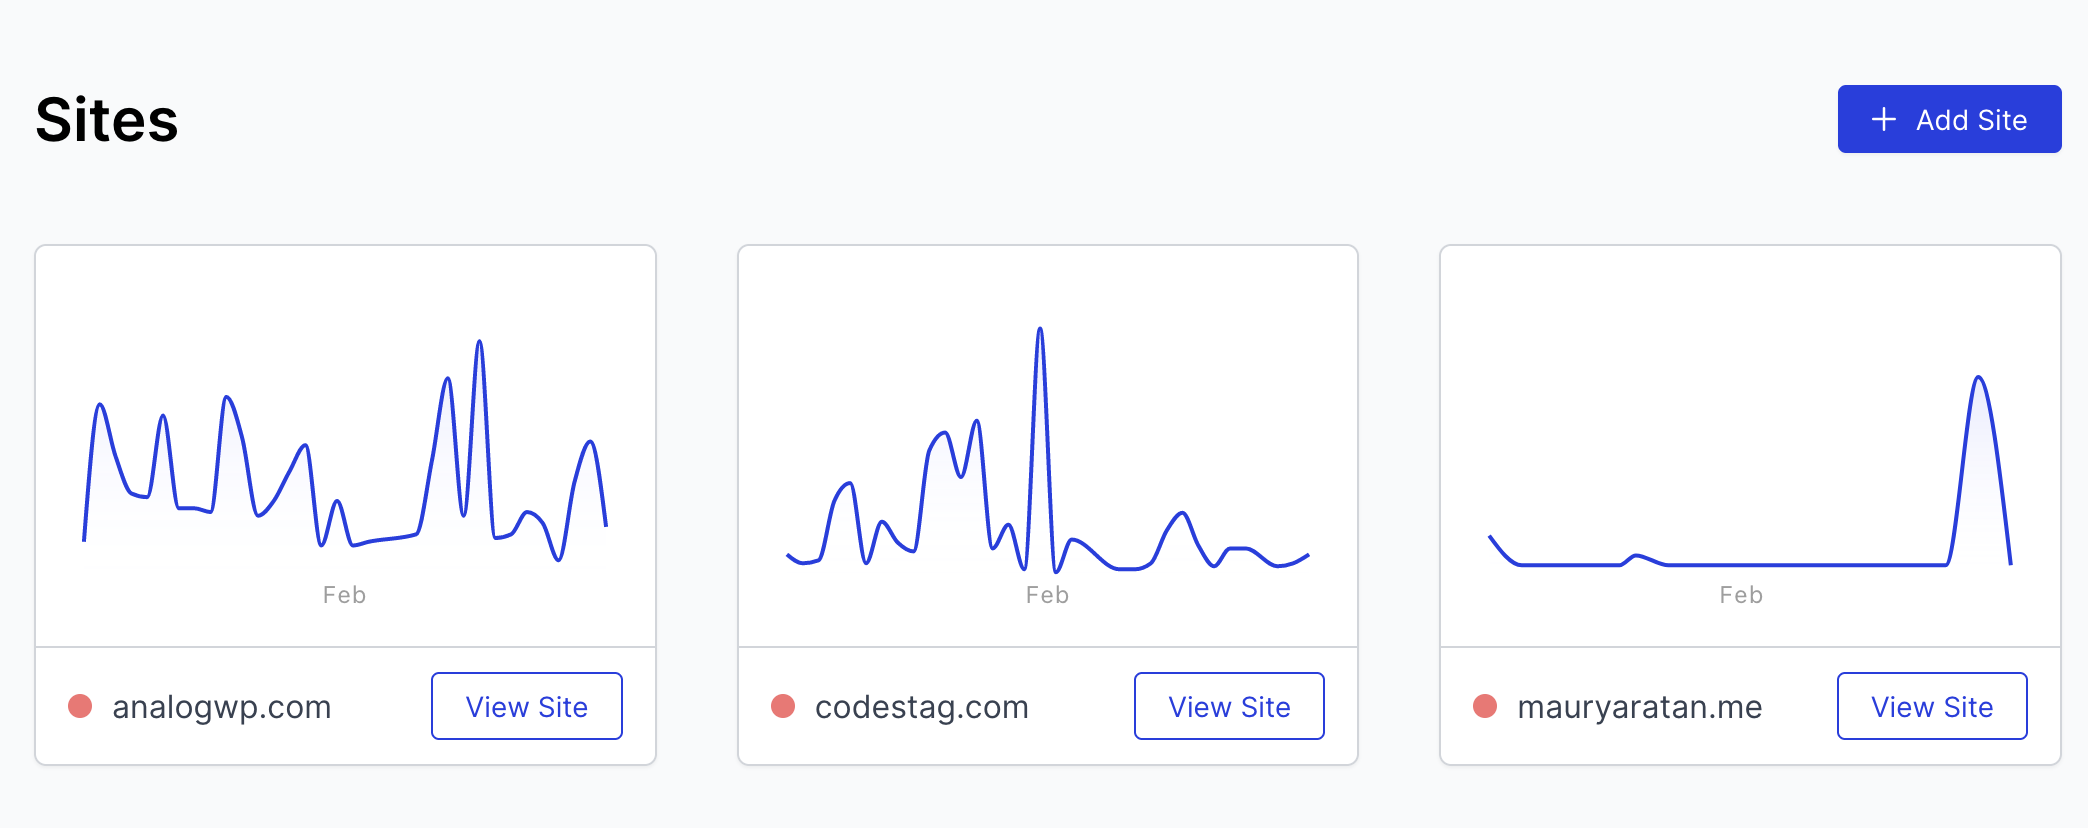
- From the app Dashboard, click on the Add Site button.
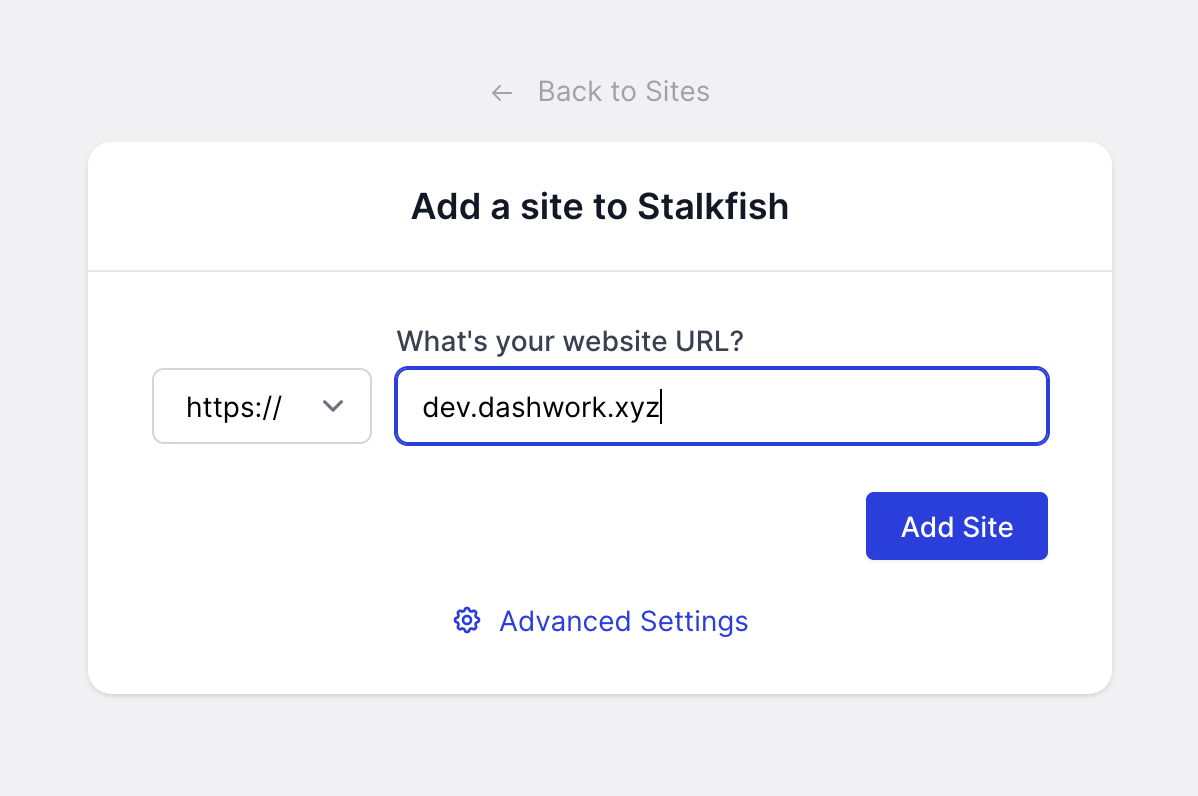
- Once you’re on site add screen, it’s a step by step process, first is to enter your site address which you wish to add. Along with this you can select whether it runs on https or http protocol after which click on Add site button.
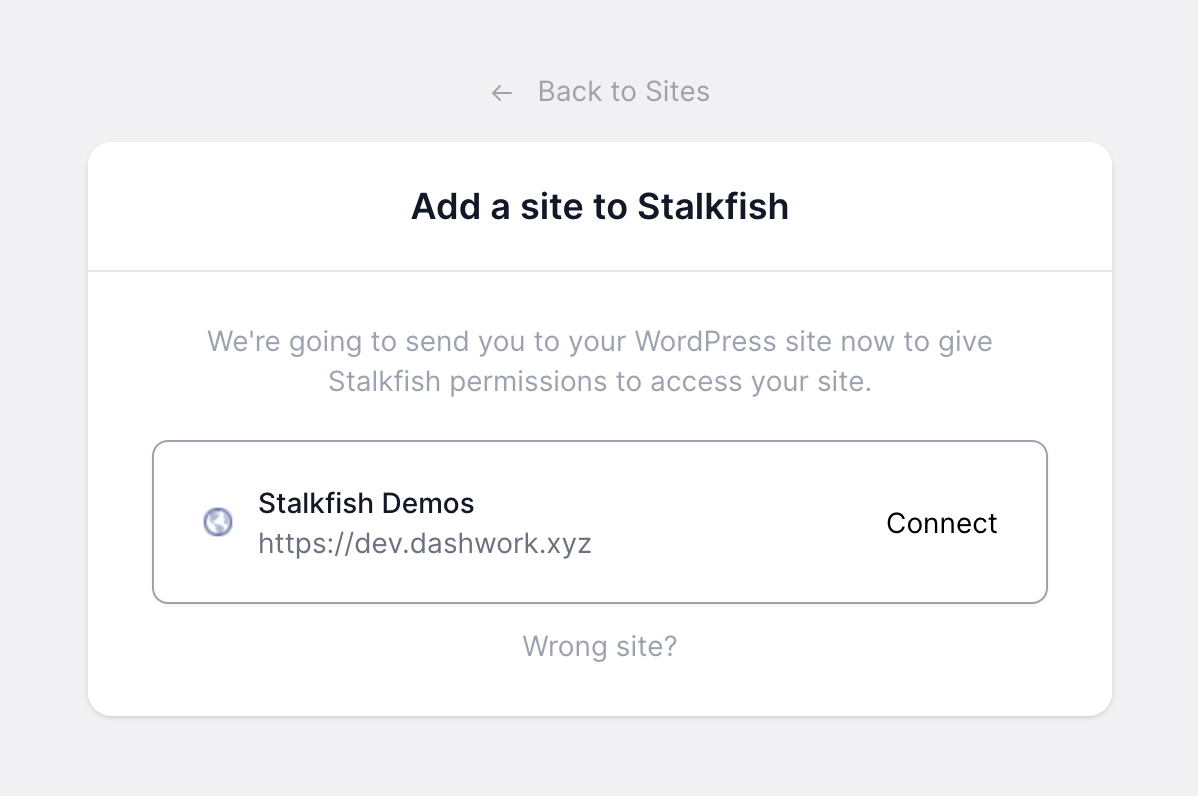
- After 2nd step, you will now see a page showing your site details with a title and favicon. If it is the correct site, press connect or click on wrong site and enter the site details again.
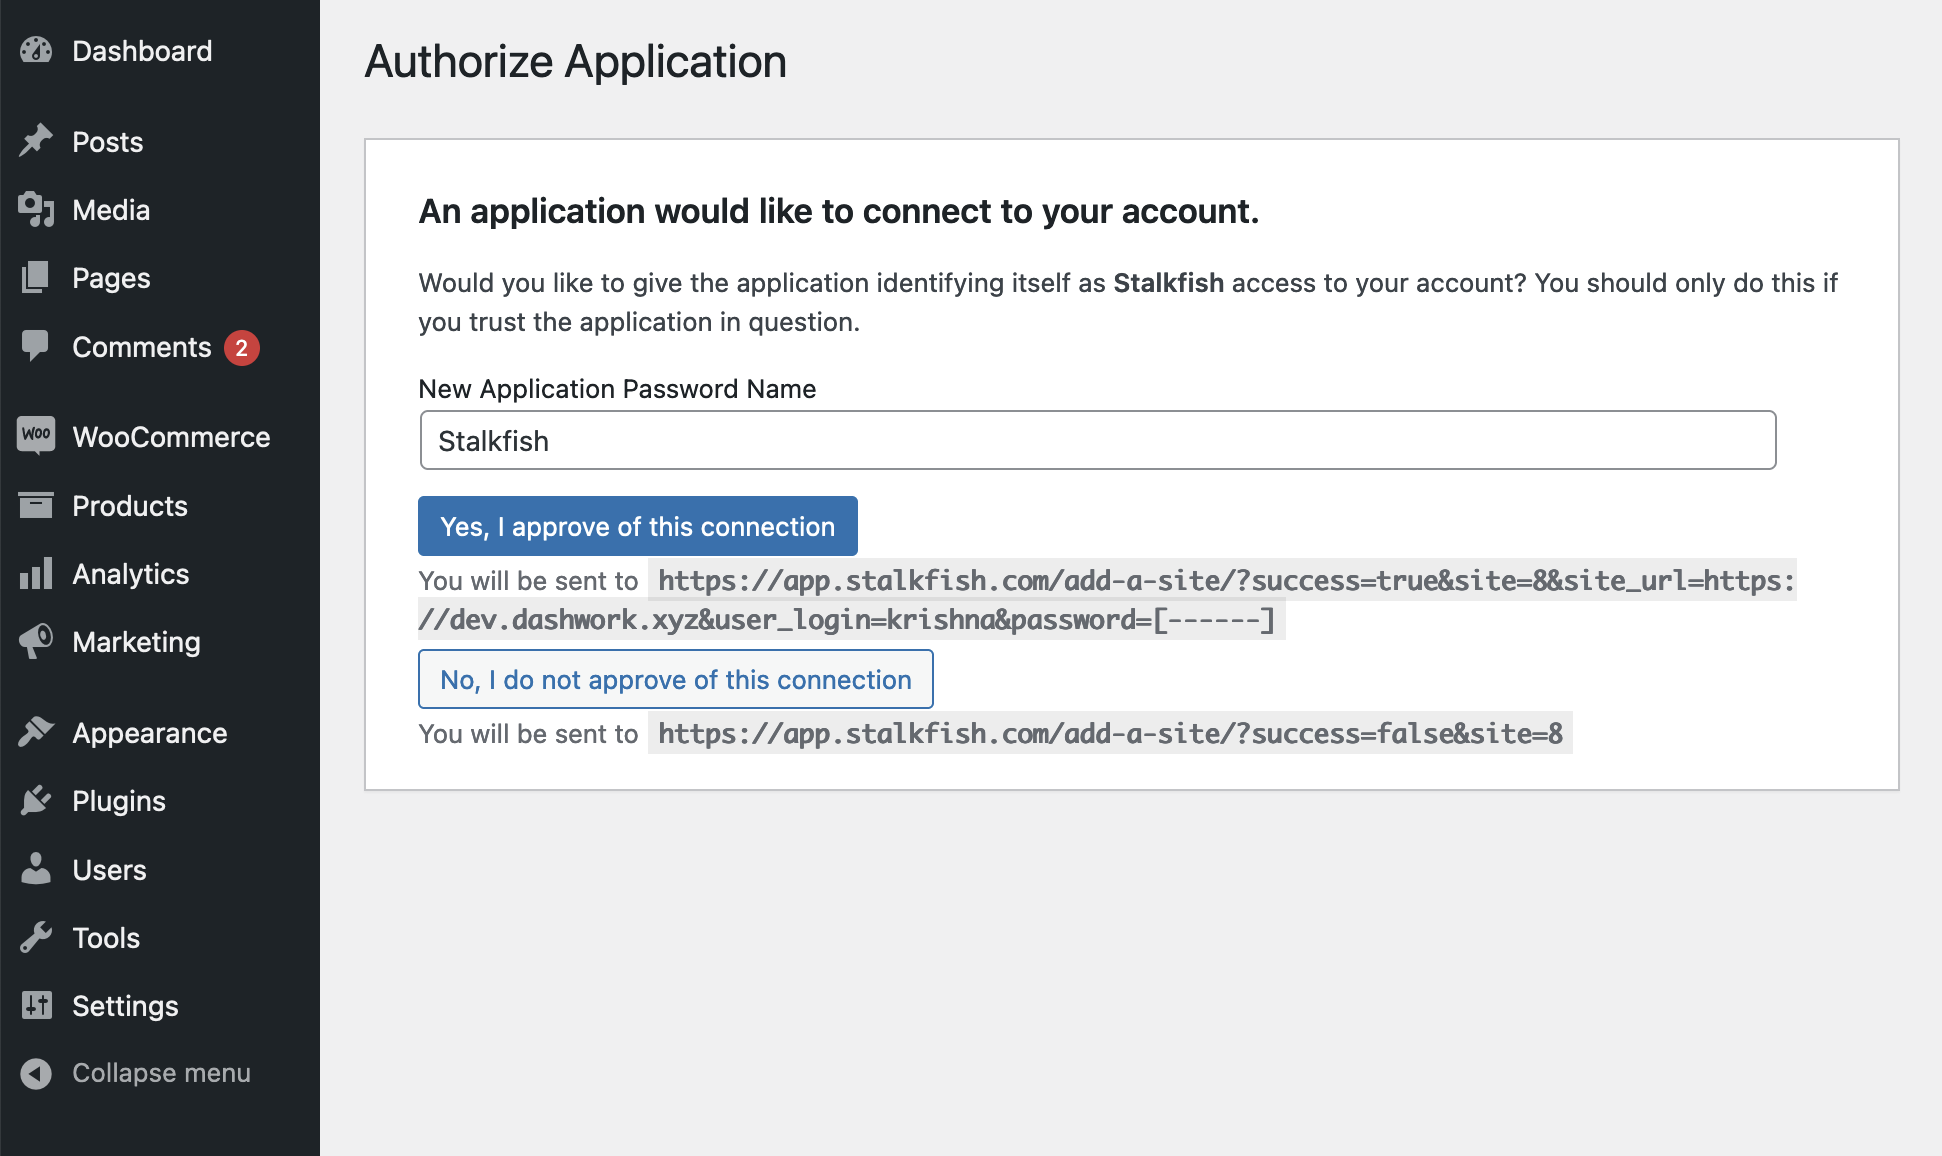
- Once you do the 3rd step, you will be redirected to the Authorize Application screen of your site, where you just need to give this application a name and hit "Yes, I approve this connection" button.
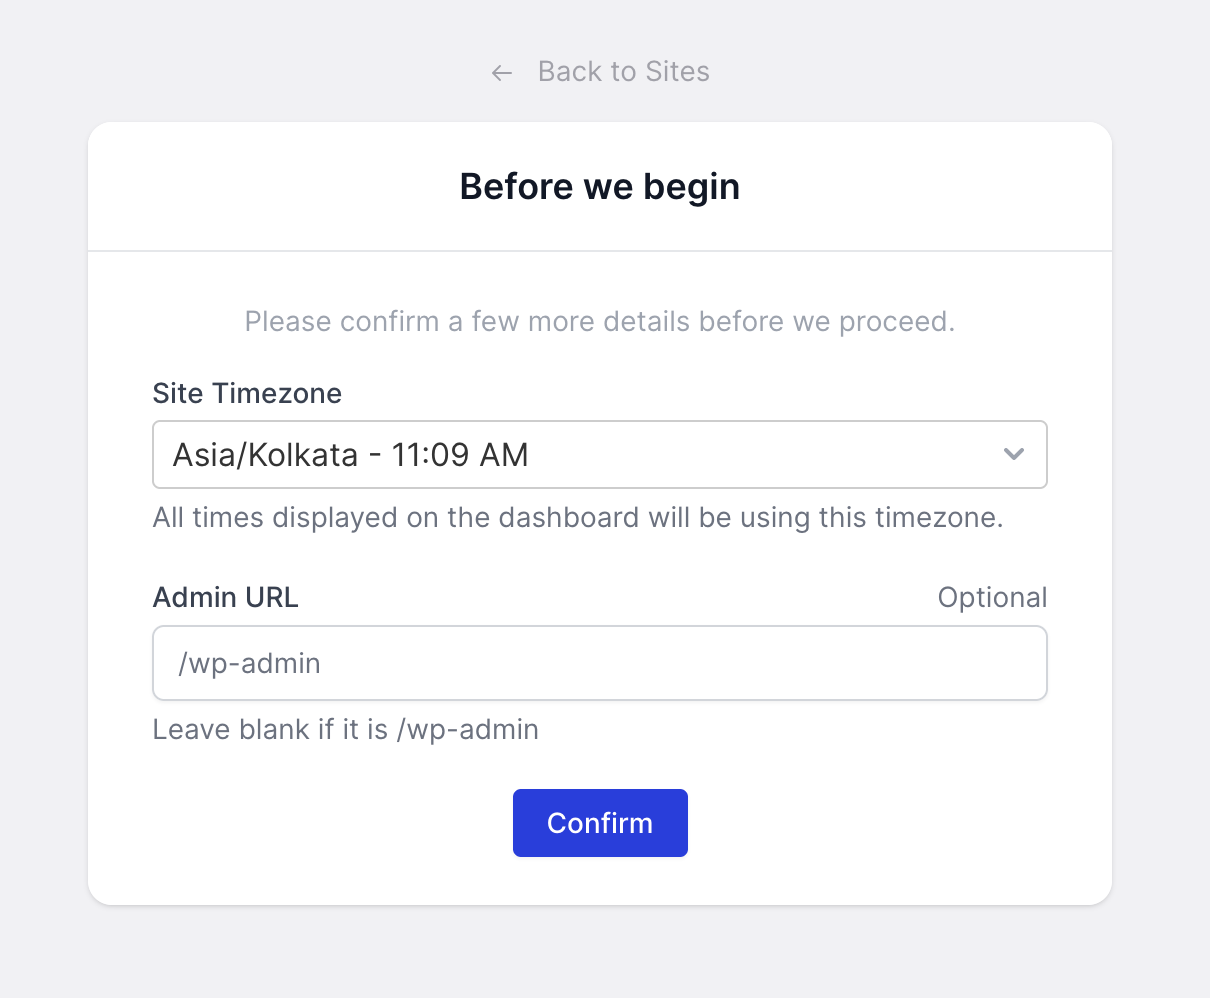
- After authorizing the application at your site, you will be redirected back to the app site setup screen where you can select the timezone. You can optionally set the site admin url field if it is not the default
/wp-admin.
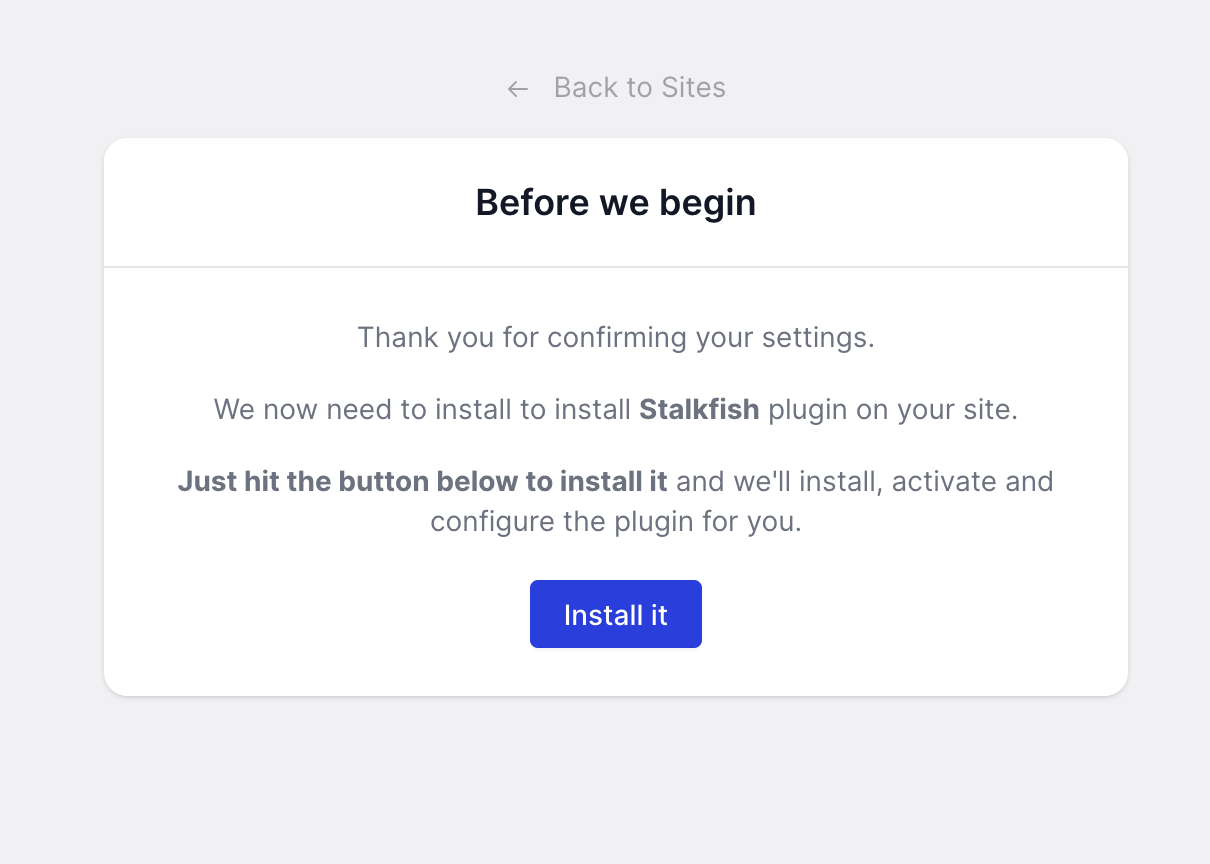
- Last is to install the helper plugin at your site which can be done either manually or by clicking on the
Install itbutton available in after the 5th step screen.
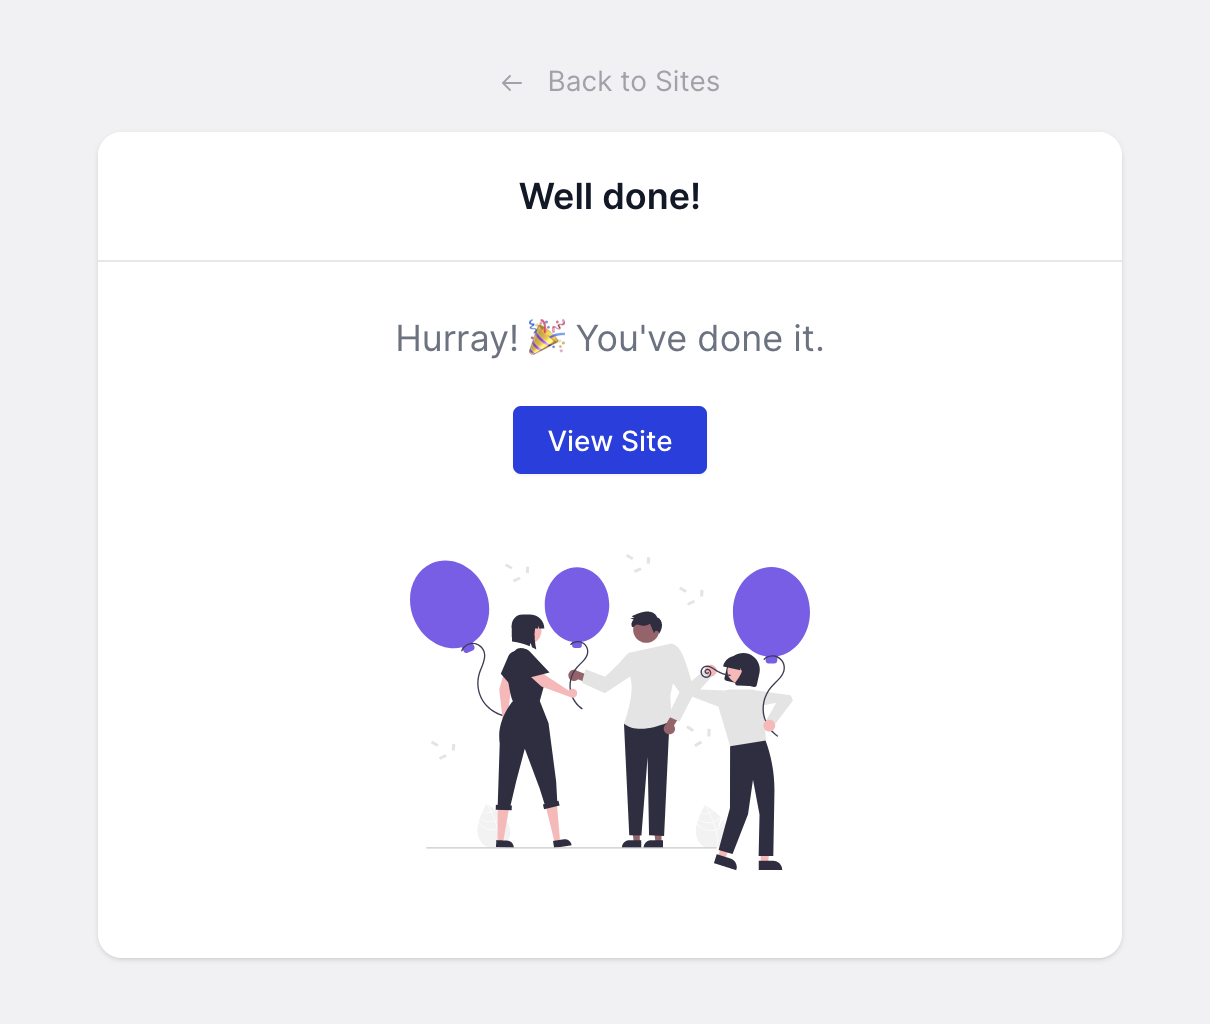
- Hurray! you have now completed the site setup to record all events and actions in the Stalkfish app.